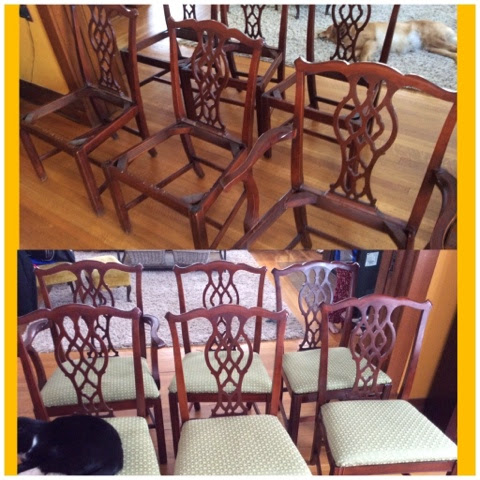
You have to love snow days - it's a chance to catch up on sleep, read a book or get a project done. I'm so happy with how my chairs came out and it was super easy.
The project only cost $50 too for a new look in my dining room.
Here's how easy it is!
1. Purchase material - measure one of cuurent seat pads x number of chairs. I bought 54" wide material so I could easily fit two covers side by side (saving on the amount of yards I needed to purchase). Make sure you pick a sturdy one that can handle a lot of use.
2. Remove old material - while you do this pull out all old staples/nails in the seat, polish chairs, fill in nicks & make sure your padding is still in good shape.
3. Cut your new material.
4. Attach new material - Line up the cushion, the backing, and the material to where it all fits together like it did in the original cover. If the material has a pattern on it, make sure that the pattern is lined up with the cushion before you start to attach the material to the cover. First put a staple in the center of every side, putting slight tension on the fabric to hold it taught. Use a hand staple gun with staples that are about 3/8 inches long. Add staples to the two sides to secure the material them do the back edge Folding the corners to create flat corners. Finally, attach the fabric to the front folding crisp corners.
5. Spray the cushions with a generous layer of Scotch Guard then reattach to the chair frame.


